Getting started with Form Recognizer (preview)
When I first heard about Form Recognizer, I thought to myself, "Wow, there are so many forms in the real world that needs to be parsed and digitilized!". Once v2 preview came out, I finally decided to build an app that will parse through all of our user feedback from the last AI Hack Day.
Form Recognizer is an Azure Cognitive Services that allow us to parse text on forms in a structured format. Now we can extract the location and size (bounding box) for where information was entered or written along with the OCR'd text values.
For feedback forms this means, I can get feedback from users by merely uploading their scanned forms to trained custom Form Recognizer.
Prerequisite
In this blog post will attempt to recognize user feedback using Form Recognizer and Form Recognizer to do custom form recognition rather than built-in one.
We'll need:
- Filled out forms
- Azure Account
- Docker (optional)
- Azure Storage Explorer
UPDATE 05/05/2020: The setup process is now automated and you'll now be able to train and use custom forms much faster than before. 😀
1. Filled out forms
You'll need at least 6 filled out forms for this demo.
As co-organizer of AI Hack Day, I'm using the SSW User Group Evaluation Survey which you can download, fill out, and scan if you don't have your forms.
Microsoft also have their own data set, if you prefer prefilled: https://github.com/Azure-Samples/cognitive-services-REST-api-samples/blob/master/curl/form-recognizer/sample_data.zip
2. Create Resources
To get started, you can either go to Azure Portal and create a new resource for Form Recognizer or use PowerShell with Azure CLI to create that resource faster. The script will save you about 15 minutes of work and works with existing resources (you can re-run it)!
Find the script on Gist: https://gist.github.com/jernejk/fdb42e032a9568d42dc8c2f05bd1fc13
Run with PowerShell Core (replace the [...]):
.\create-custom-form-recognizer.ps1 `
  -FormRecognizerName [FormsName] `
  -StorageAccountName [BlobStorageAccountName] `
  -ResourceGroup [ResourceGroupName] `
  -StorageAccountSasExpiry "2021-01-01T00:00Z" `
  -InstallationType Web
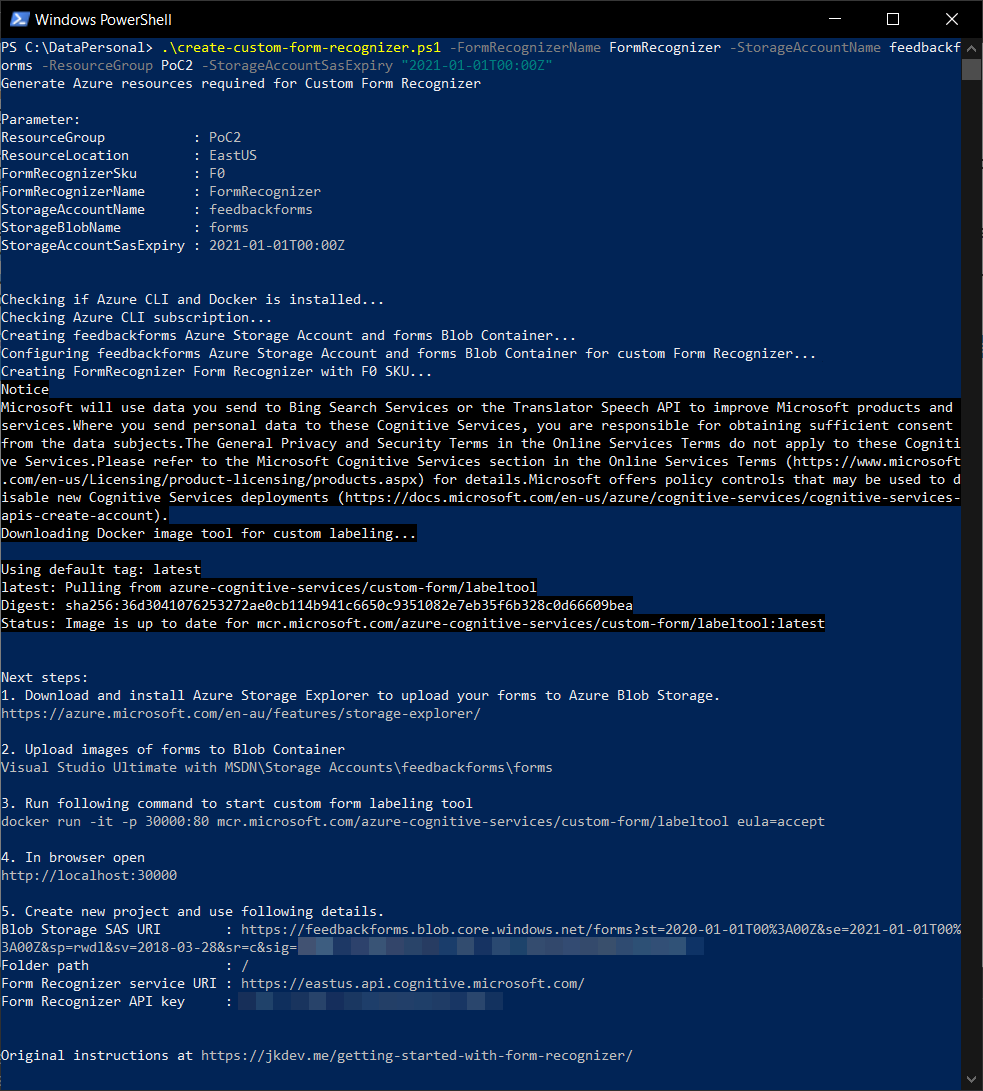
Figure: Example run for Docker configuration.
Run set-executionpolicy unrestricted in admin mode if you don't have permission to run scripts.
The script will:
- Create Azure Blob Storage (name needs to be lowercase)
- Correctly configure Azure Blob Storage (CORS and SAS)
- Create Form Recognizer
- Give you instructions and information required for completing the setup
You can decide how to run the tool by changing -InstallationType argument:
- Website hosted by Microsoft
-InstallationType Web(default) - Docker Container
-InstallationType Docker - Running React app locally from GitHub source
-InstallationType Web
If you're interested how to configure everything from scratch, you can visit Train a Form Recognizer model with labels using the sample labeling tool at Microsoft Docs.
3. Create a project
Whew, that's a lot of prep work for one service, but now we can start!
Run Form Recognizer Tool via Docker:
docker run -it -p 30000:80 mcr.microsoft.com/azure-cognitive-services/custom-form/labeltool eula=accept
Once running, go to "http://localhost:30000" and let us create a new project.
- Add name
- "Add Connection"
- Add a name for the connection
- Copy "Blob Storage SAS URI"

- Folder path is empty in this case
- Copy "Form Recognizer service uri" and "Form Recognizer API key" from the script results
We finally have our project created!
4. Start labeling
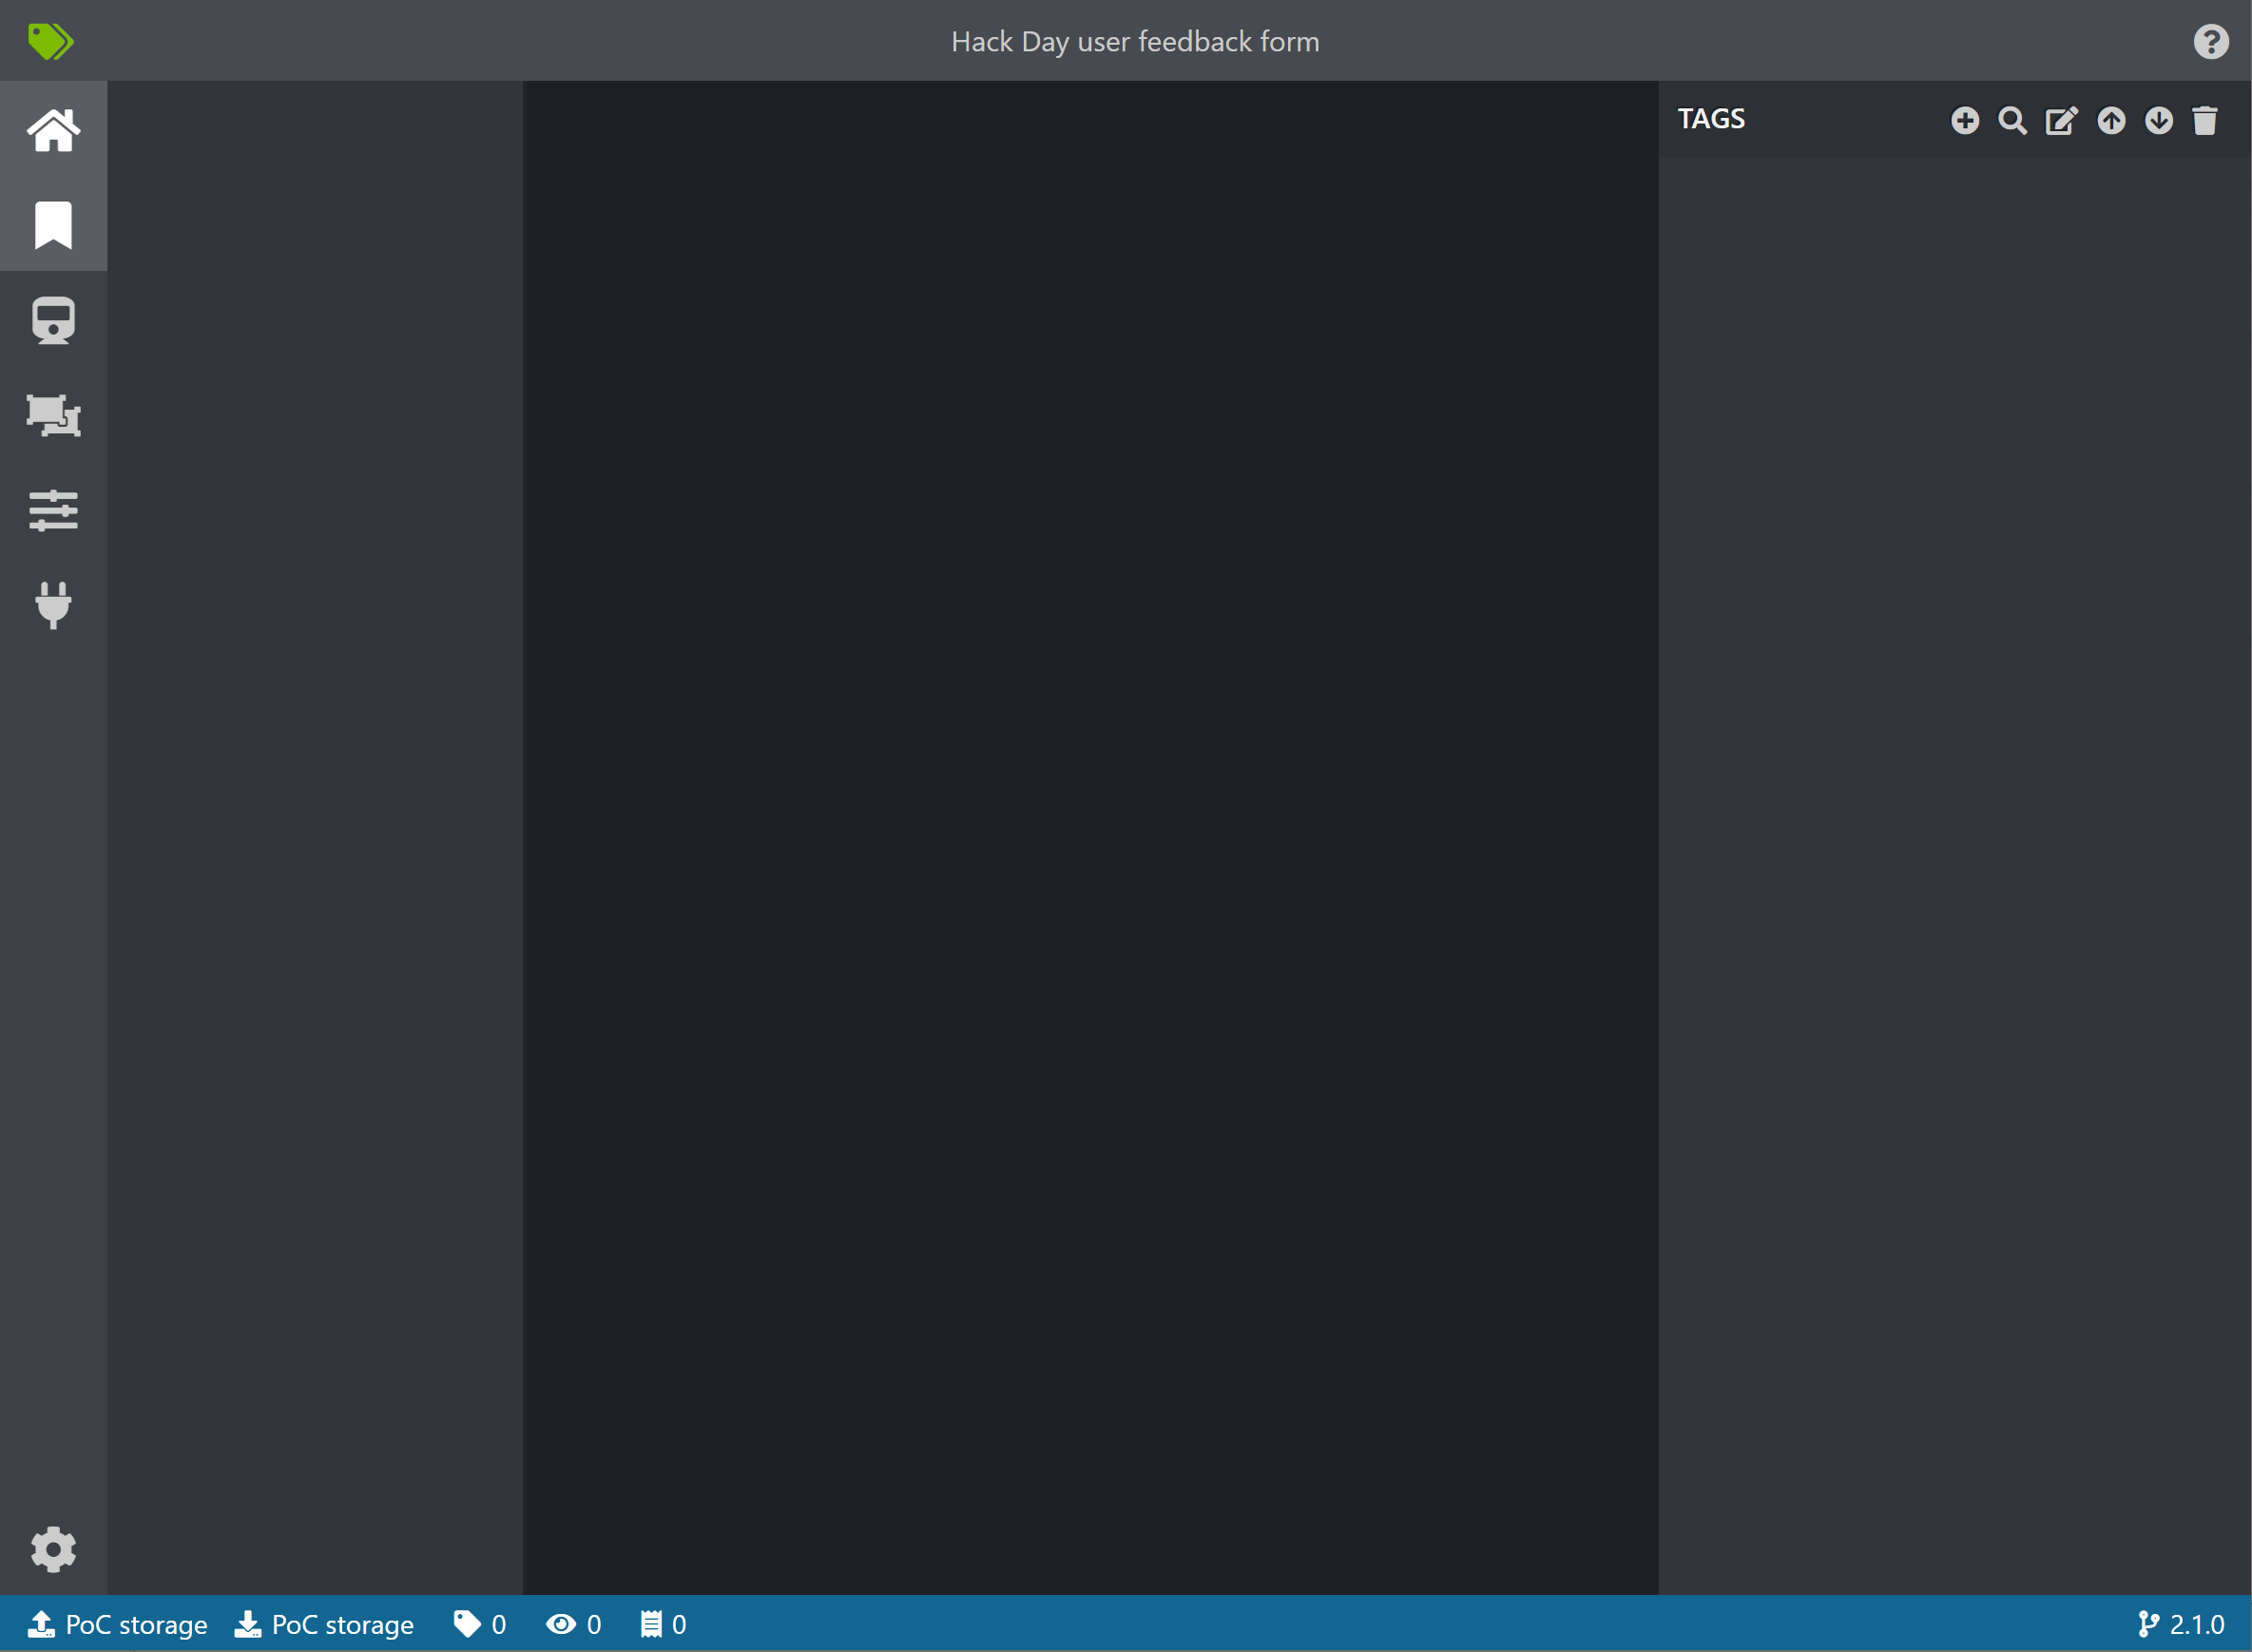
You'll notice that the project is empty and it doesn't give you options to upload images. To get your forms in (images or PDF), you'll have to upload them to the Blob Storage we created for this project. You can use Microsoft Azure Storage Explorer to upload your forms.
TIP: Don't upload all of your images because you want to leave some of them for testing.
Once they are uploaded, refresh the page on the Form Recognizer Tool.
- Wait for OCR to complete
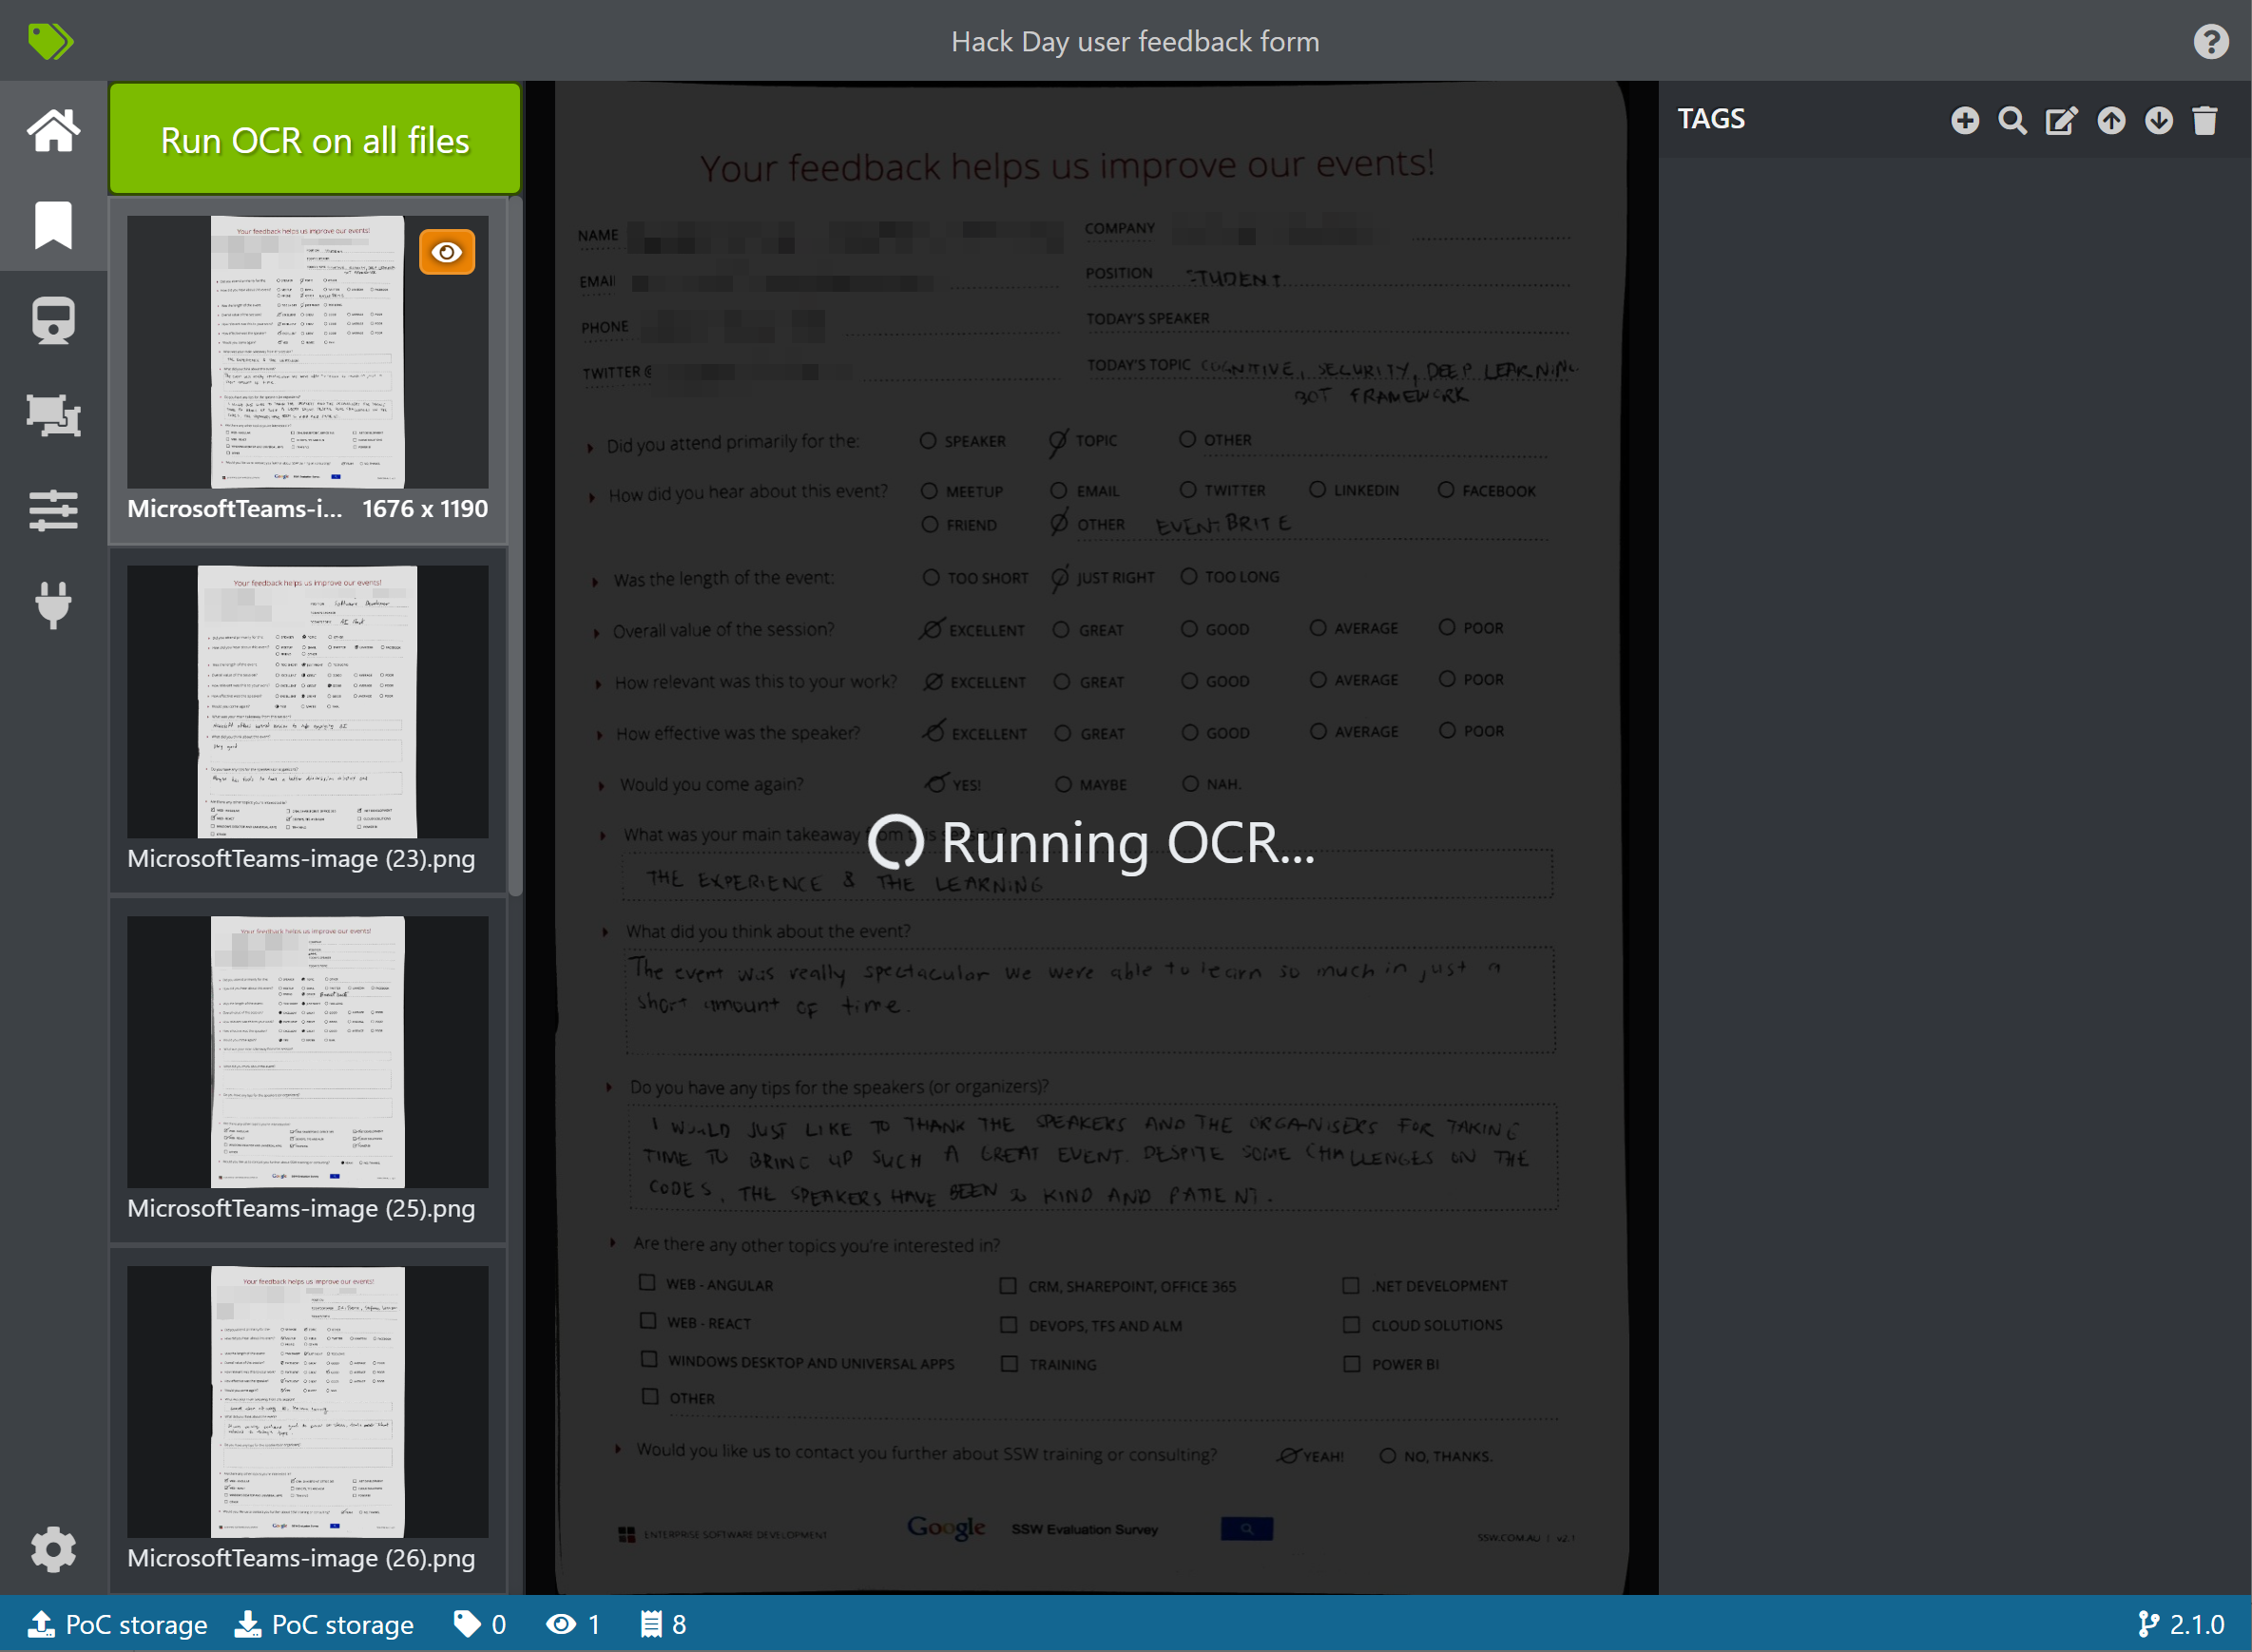
- Create tags in the right column you want to recognize (name, email, etc.)
- Select the detected text (it will be light green)
- Select the correct tag (e.g. "Position")
- The selected text will now have the same color as the tag
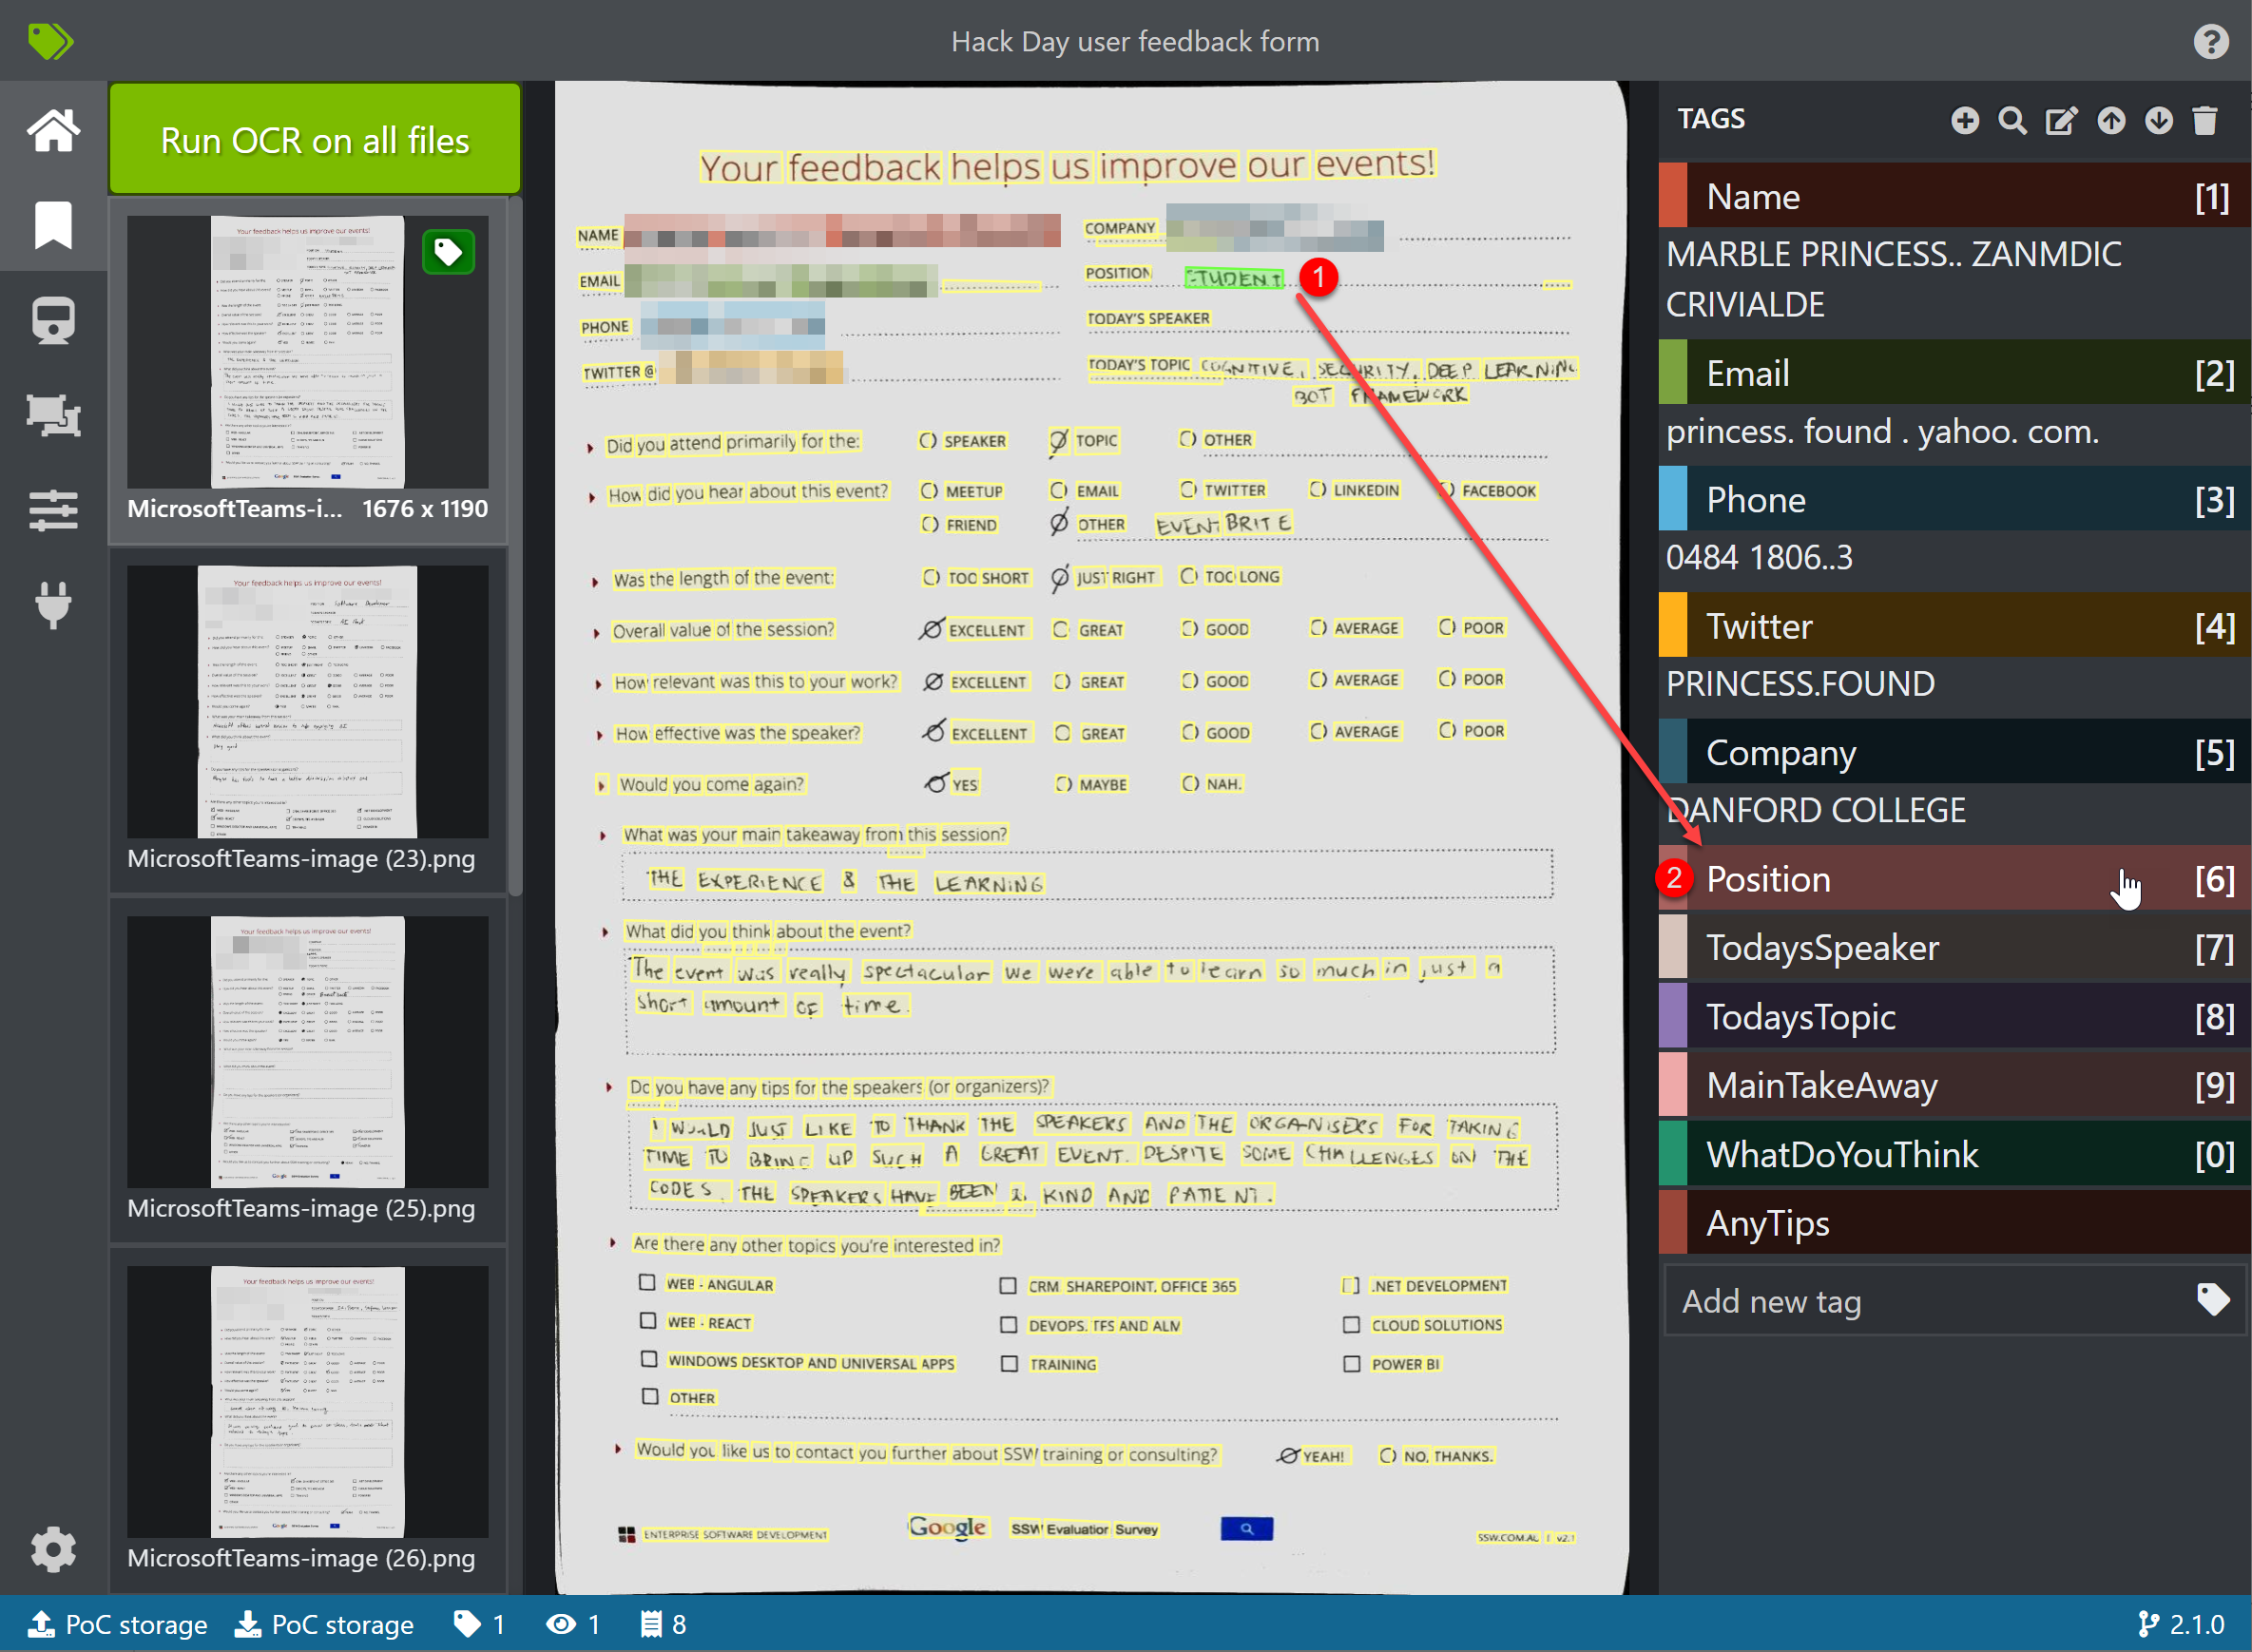
Do this for all of the text you want to be tagged on all of the forms.
NOTE: This tool supports only one form per image/PDF. Form with multiple pages will be treated as a single multipage form!
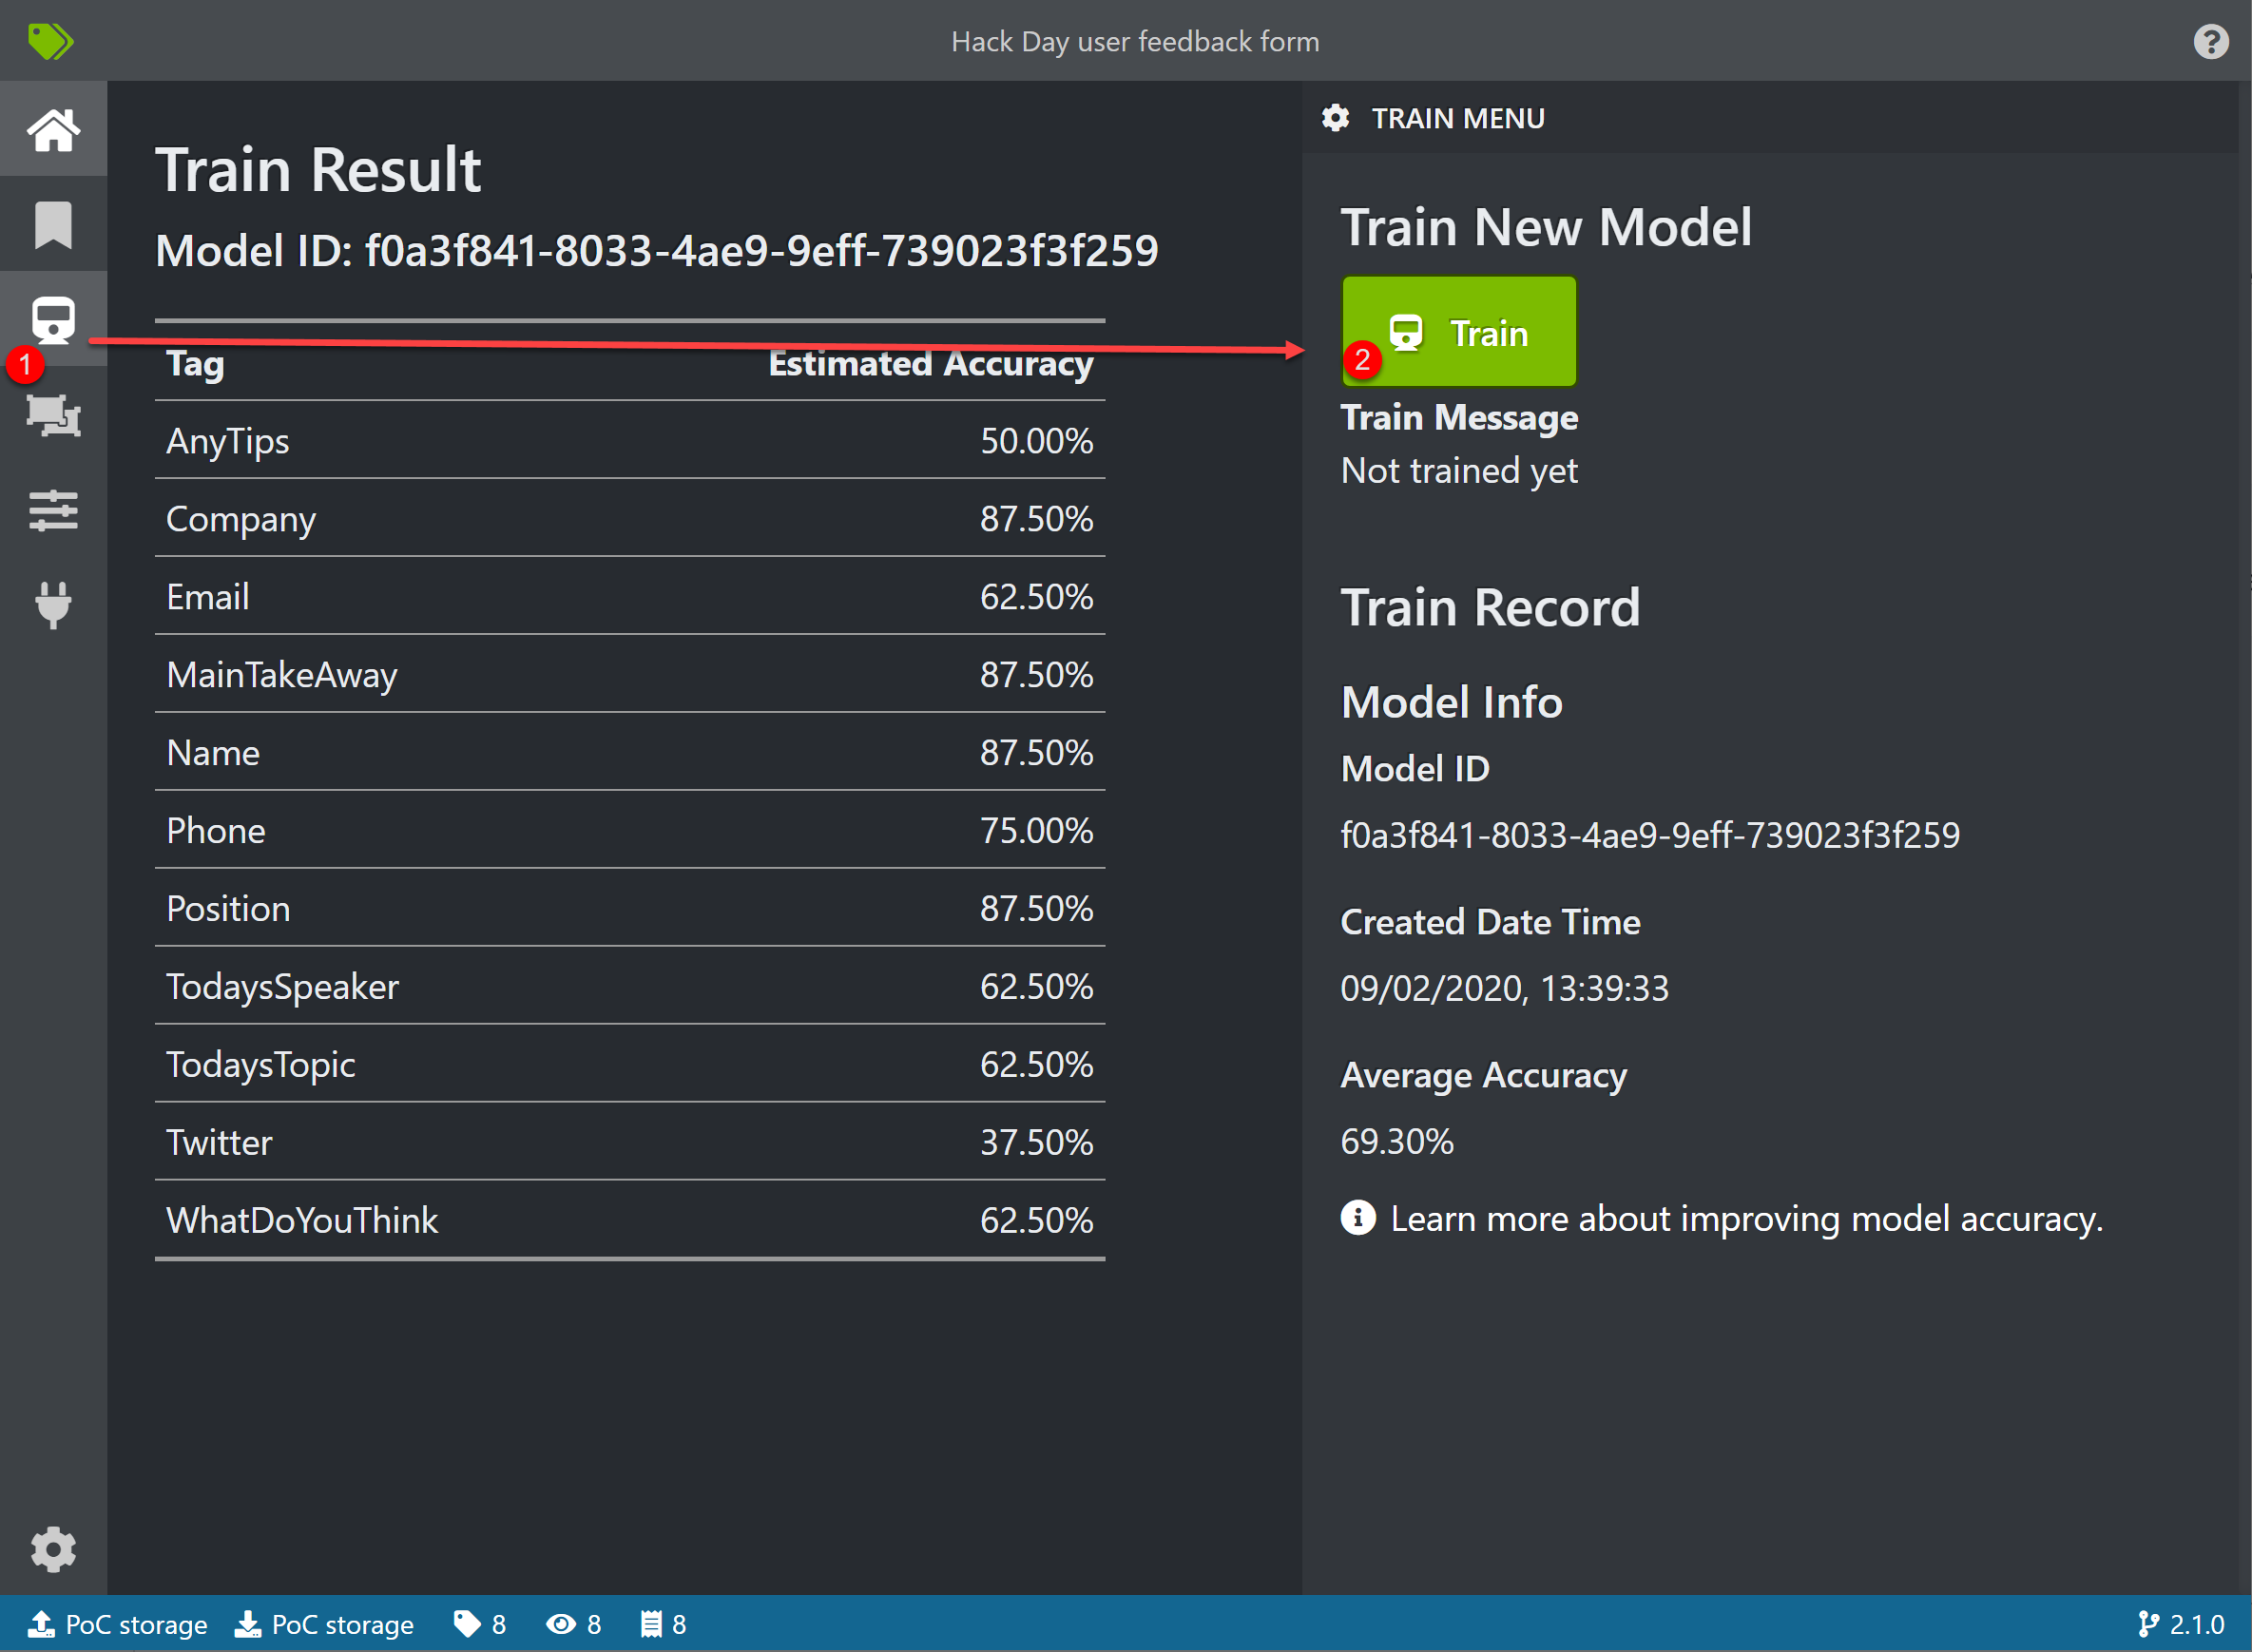
5. Training
- Go to Train icon
- Click "Train"
- Done! 🎉
6. Testing
- Go to 2 squares icon
- Browse
- Predict! 🎉
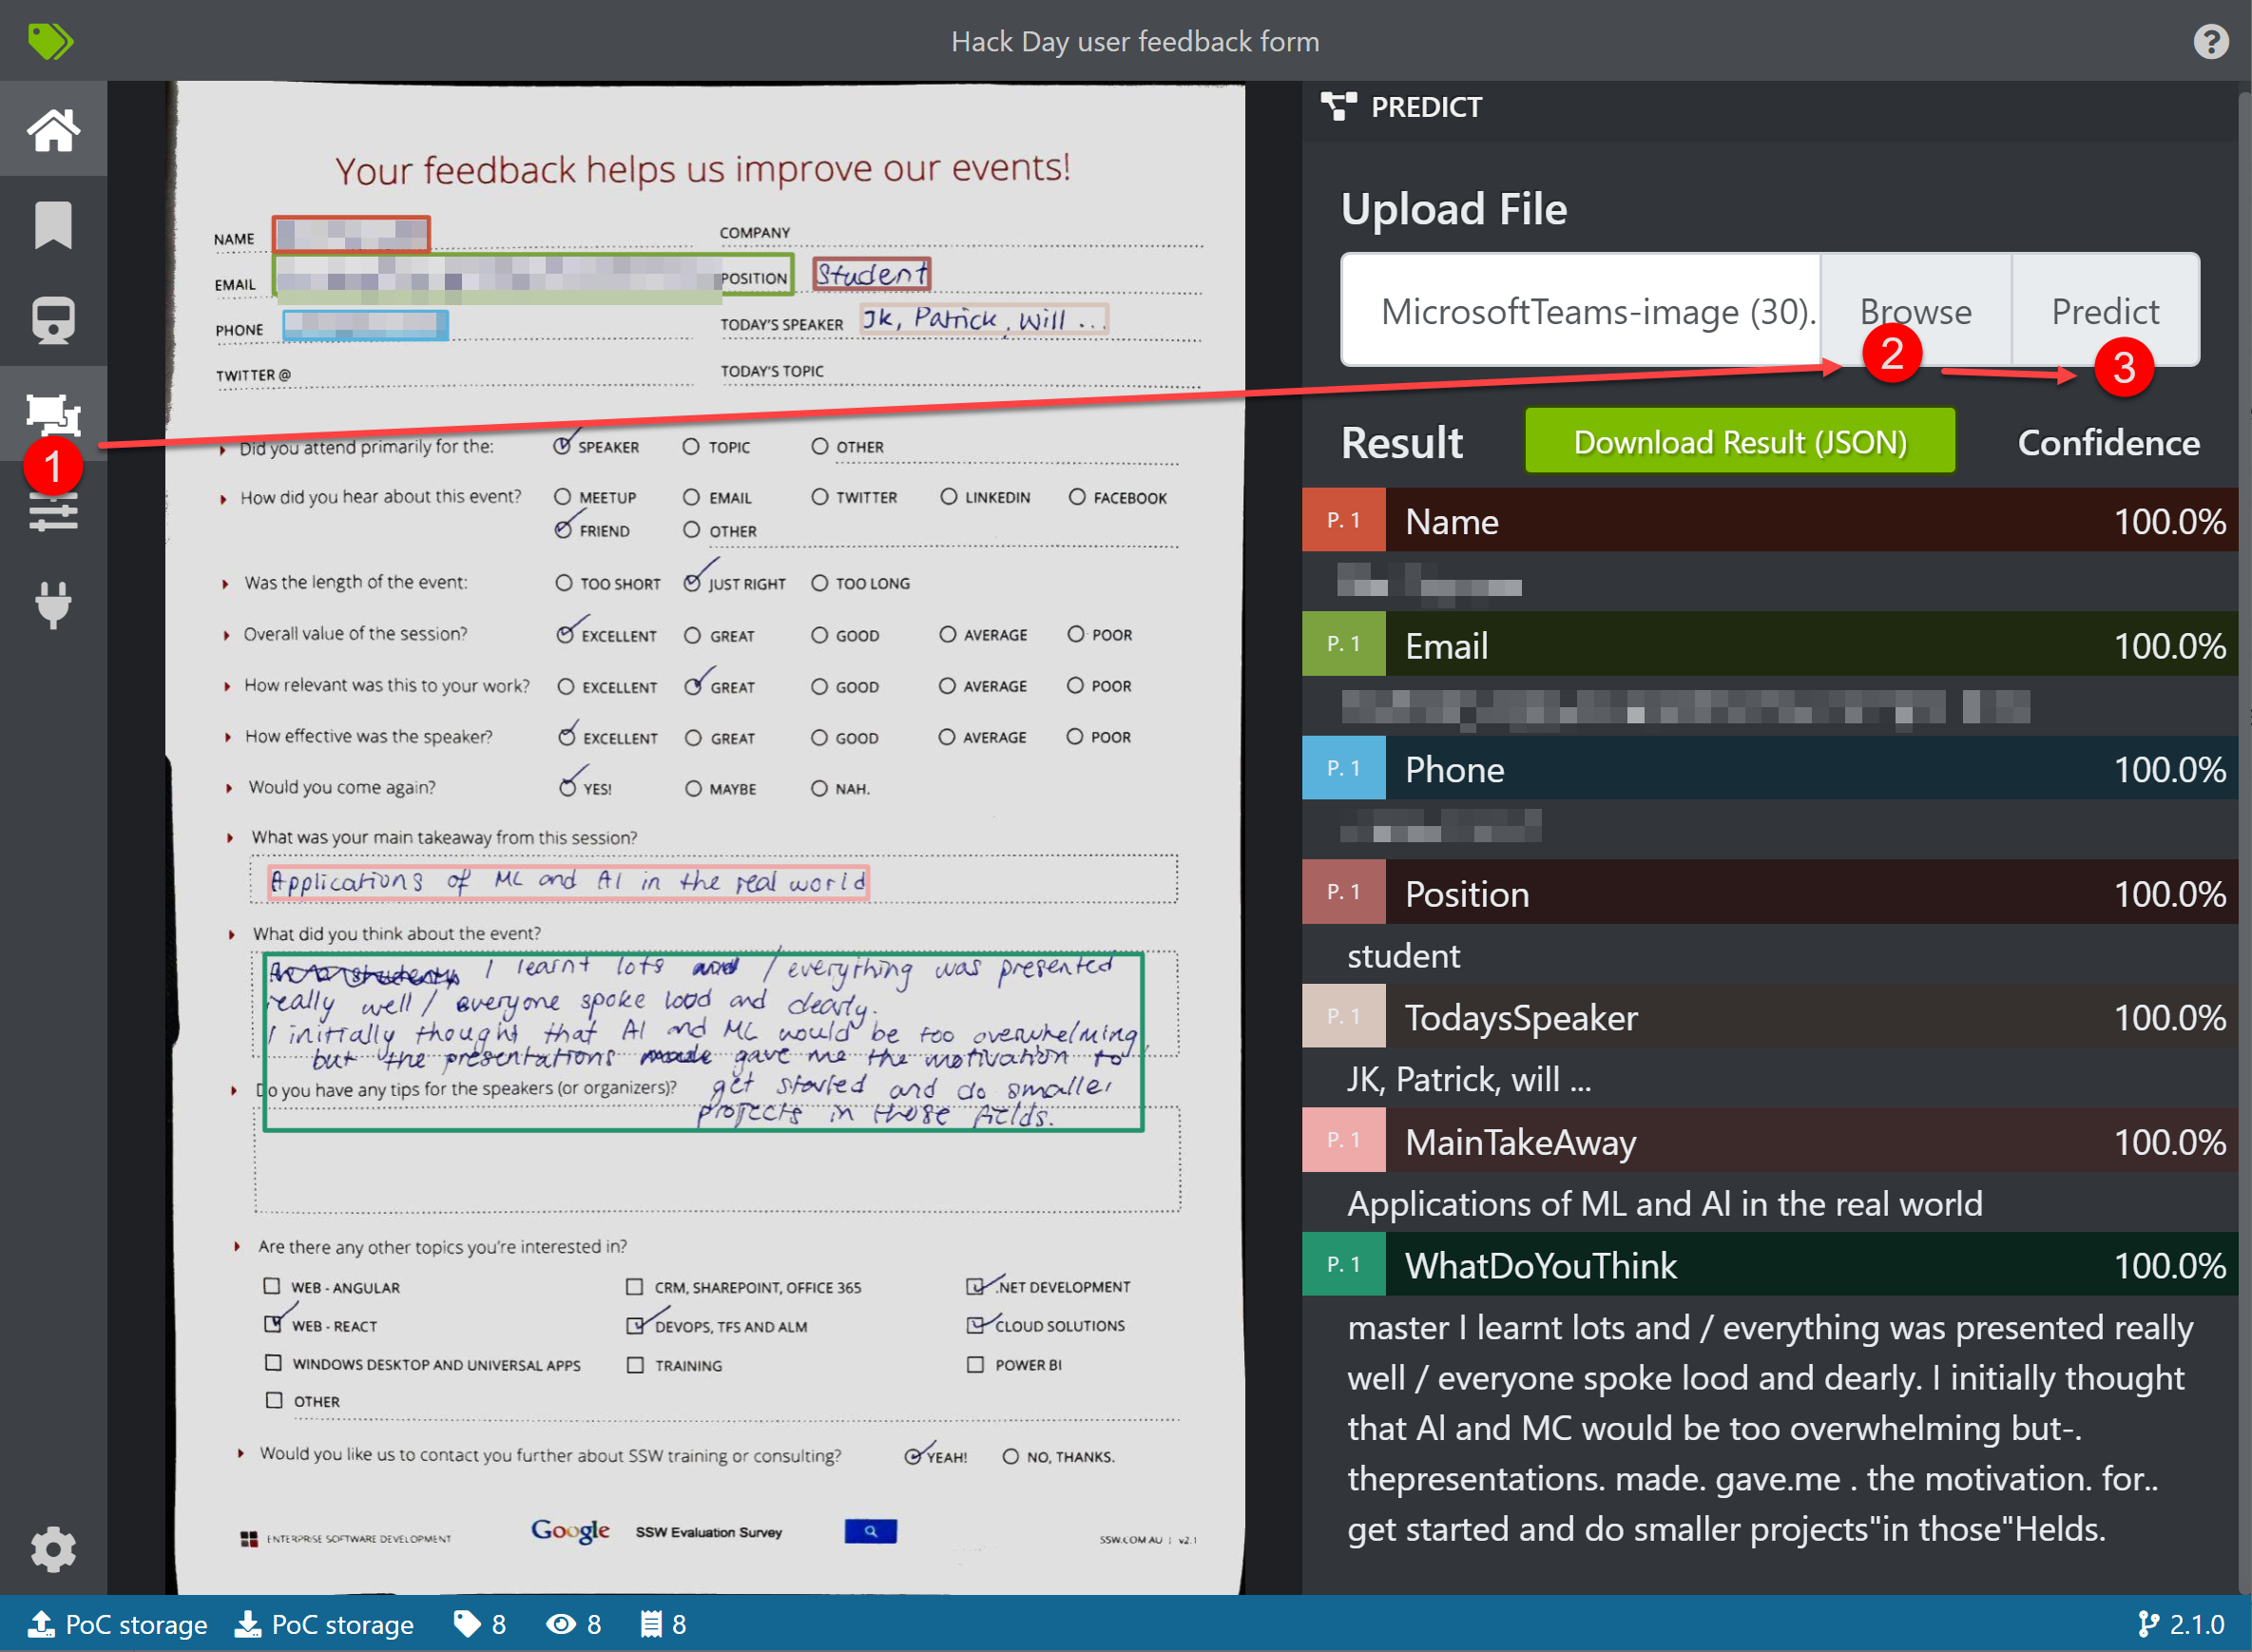
NOTE: If using are free tier, this may take a while because of the rate limit.
Personally, I'm using PowerAutomate to use Custom Form Recognizer because I can add Form Recognizer as a step in flow with no code. Instead of writting an app, I simply create a button trigger in flow and share that flow with other admins, which allows them to use it on their phone or desktop.
What's next
The form recognizer works mostly well however, there are a few issues I need to address:
- OCR isn't always great especially if someone's handwriting isn't great
- This version doesn't recognize checkboxes (the feature is on their backlog)
- When uploading a multipage PDF, it treats it as a single form on multiple pages. We need to split it up into multiple images/PDFs
At the moment I'm experimenting with recognizing checkboxes myself. However, I'm happy that we can quickly get images into structured data and do a bit of correction and add ratings rather than typing everything from scratch. I'm looking forward to the day when our feedback forms for hack days and user groups are automated and we can send feedback to guest speakers much quicker (and enjoying the weekend instead of entering data! 😁).